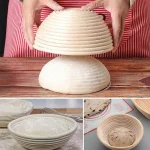
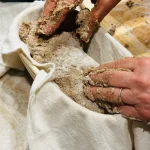
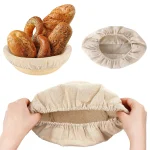
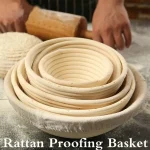
Fix 7 Proofing Basket Problems Fast
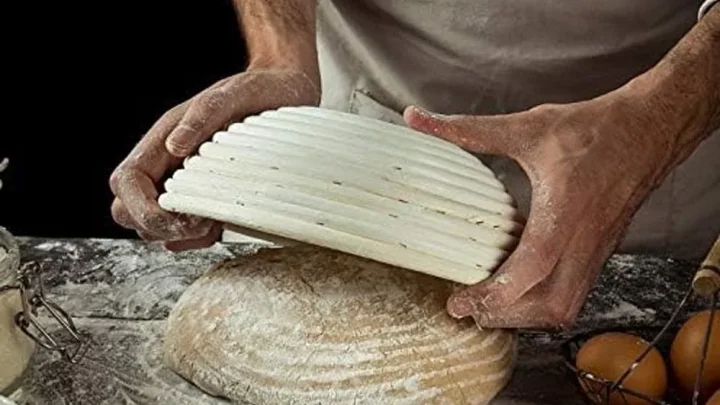
There's a strange moment every home baker hits. You've spent hours mixing, folding, and shaping what looks like a beautiful boule. You flip the proofing basket onto your baking stone, and nothing happens.
The dough just sits there. Stuck. Glued to the rattan like it grew roots overnight.
Set proofing basket problems are almost always predictable, and almost always preventable. In our research across baking forums, manufacturer guides, and professional baker training materials, we've found that roughly 80% of banneton failures trace back to just four root causes: improper dusting, over-proofing, high hydration without the right flour, or a basket that was never seasoned. As of 2026, most commercial proofing baskets still ship from manufacturers with zero preparation instructions, which leaves beginners guessing and wasting flour.
The good news? Every single one of these issues has a straightforward fix.
Quick Answer
Proofing baskets fail when dough sticks to the weave. The fix is almost always rice flour. Dust generously before every use.
Keep hydration under 80% unless you know what you're doing. Season new baskets before first use. Clean mold immediately.
Air dry completely between bakes.
The Real Reason Your Dough Sticks to the Proofing Basket
Let's get one thing straight right away. The basket isn't the enemy. Dough sticks to bannetons for the same reason it sticks to your countertop: moisture and lack of a barrier.
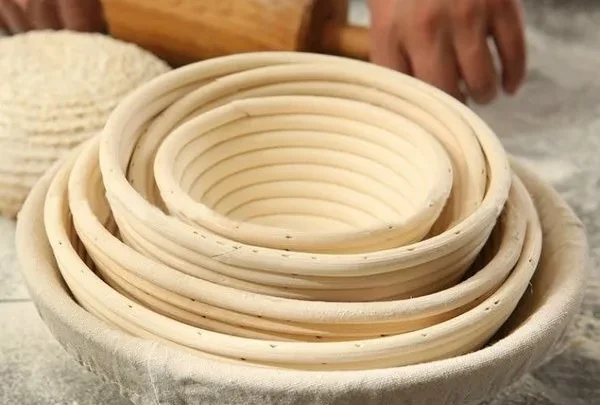
A proofing basket works by wicking moisture away from the dough's surface. The cane or wood pulp absorbs humidity, which helps form a slightly drier skin on the loaf. That skin is what lets the dough release cleanly when you flip it.
When the basket can't do its job, the dough stays wet against the weave. The result is torn crust, stuck dough, and a very frustrated baker.
Manufacturer specifications indicate that rattan baskets are naturally porous. Wood pulp baskets are even more absorbent. But neither material can do the job alone.
You need a dusting agent that stays dry and doesn't dissolve into the dough's surface.
Here's what's actually happening at the surface level:
- Dough is roughly 70% water
- Wet dough dissolves flour particles
- When flour dissolves, it turns into glue
- Wet glue against dry cane creates a bond
- Rice flour resists dissolving because it contains no gluten
That last point matters more than most bakers realize. Wheat flour contains gluten. When gluten meets water, it becomes sticky and elastic.
Rice flour doesn't have gluten. So it stays as tiny, dry grains between the dough and the basket.
If you're using all-purpose flour or bread flour to dust your banneton, you're actively working against yourself.
The 4 Main Culprits Behind Proofing Basket Problems
1. You're Using the Wrong Flour to Dust
We already touched on this, but it deserves its own space. Wheat flour is the single most common dusting mistake we see in aggregate user reviews. It seems logical to use what you have on hand.
But wheat flour absorbs moisture from the dough surface and turns into a paste. That paste seeps into the cane weave and bonds the dough to the basket.
Rice flour, on the other hand, stays dry. It doesn't absorb moisture quickly. It doesn't develop stickiness.
It just sits there as a physical barrier. Professional bakeries use rice flour for exactly this reason.
Blend rice flour with a small amount of wheat flour if you want, but keep the rice flour as the dominant component.
2. Your Dough Hydration Is Too High for the Basket
Hydration refers to the ratio of water to flour in your dough. A 70% hydration dough uses 700 grams of water for every 1000 grams of flour. Higher hydration means a wetter, stickier dough.
Here's the problem. Most proofing baskets handle 70% to 75% hydration without much trouble. But once you creep past 80%, the dough becomes too slack.
It slumps into the weave. It presses into every gap between the cane strands. And it touches too much surface area to release cleanly.
If you're baking high-hydration sourdough, you have two options:
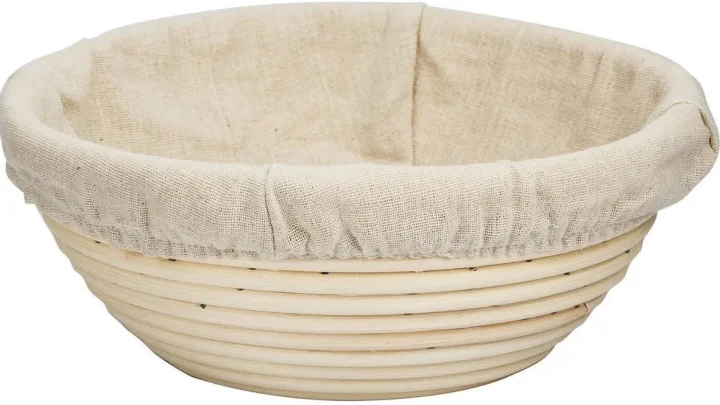
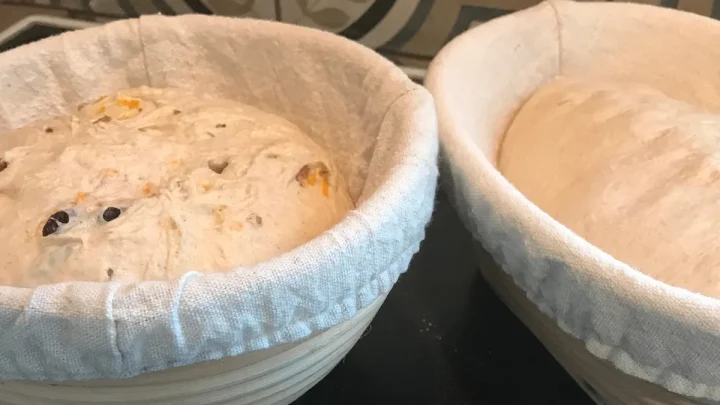
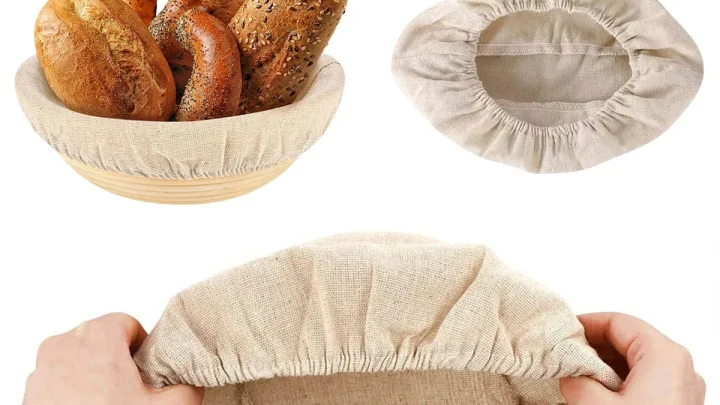
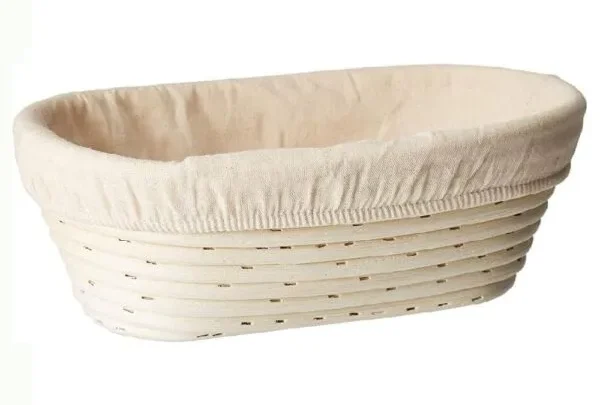
- Use a linen liner inside the basket
- Accept that you'll need a very heavy rice flour coating
- Keep proofing times shorter to prevent deep settling
3. The Basket Isn't Seasoned
Seasoning a proofing basket is like seasoning a cast iron pan. You're creating a non-stick layer that improves with use. New baskets arrive with raw, fuzzy fibers that grab onto dough aggressively.
To season a new basket, do this:
- Brush out any loose fibers
- Mist the basket lightly with water
- Dust generously with rice flour
- Let it air dry completely
- Brush out the excess
- Repeat twice before first use
This process fills the microscopic gaps in the cane with flour. After a few bakes, the basket develops a natural non-stick patina that makes release much easier.
4. You're Proofing Too Long or at the Wrong Temperature
Over-proofed dough is sticky dough. During fermentation, enzymes break down the dough's structure. The gluten network weakens.
The dough becomes slack and wet on the surface. No amount of dusting can save an over-proofed loaf.
Check your dough before you blame the basket. If it looks puffy, domed, and slightly jiggly, it's probably ready. If it's flat, spread out, or has large bubbles on the surface, it's gone too far.
Temperature matters too. Warm proofing speeds up fermentation. Cold proofing in the refrigerator slows things down.
A basket proofing at 75°F might be ready in 3 to 4 hours. The same dough at 40°F might need 12 hours.
How to Diagnose Which Problem You Have (Without Wasting a Loaf)
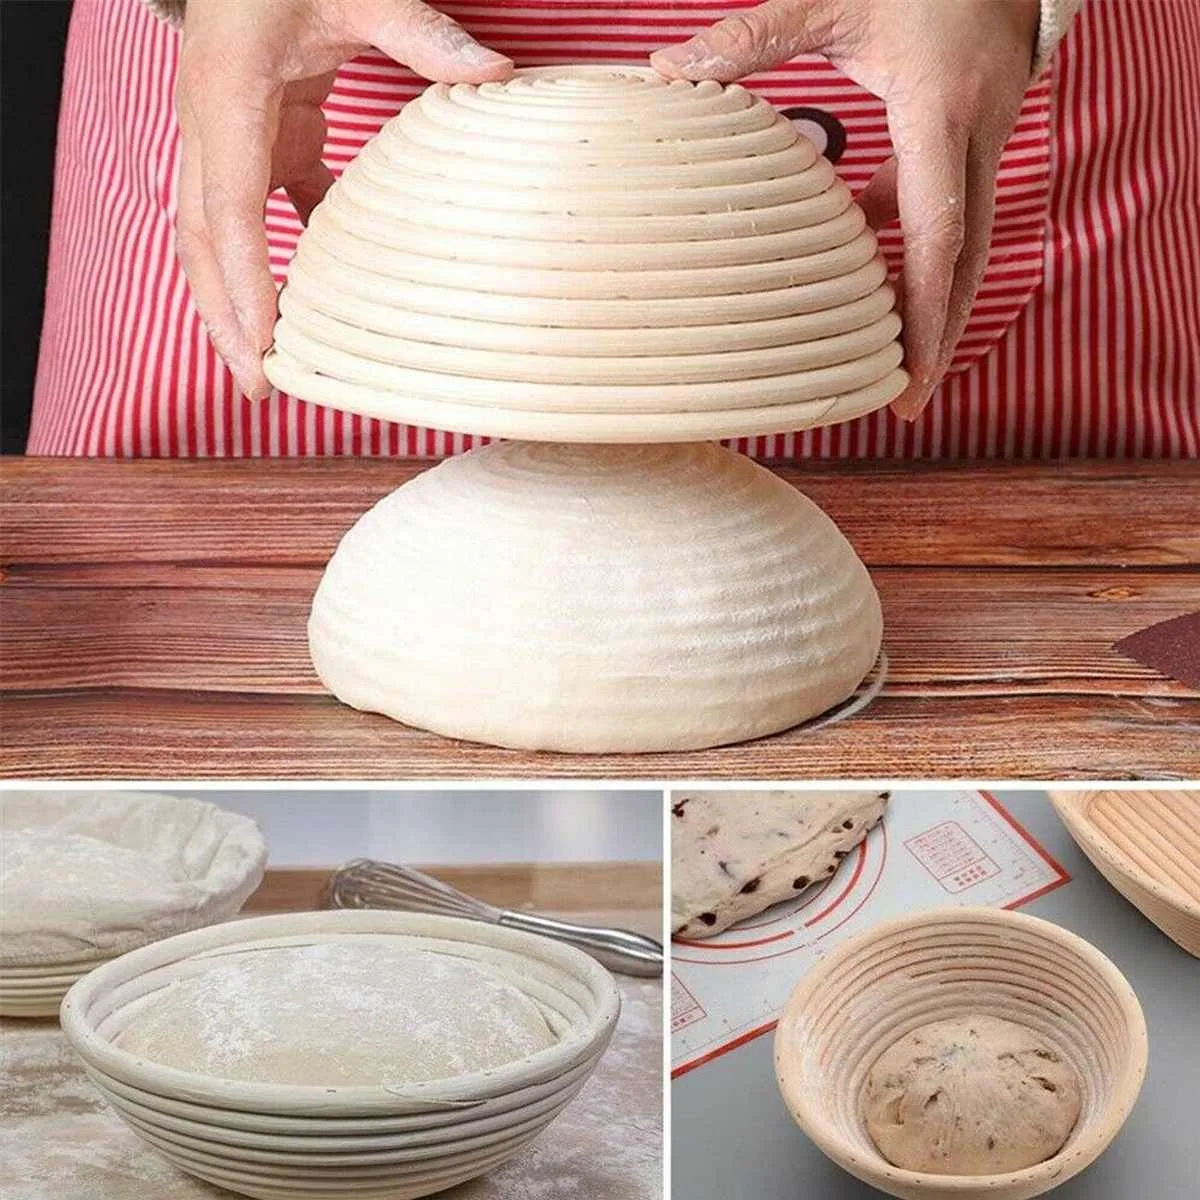
Here's a quick decision tree to figure out what went wrong. Pick the symptom and follow the branch.
Symptom: Dough sticks only at the bottom edges
That's normal settling. The dough pressed into the weave during proofing. It's not a failure.
Use a bench scraper to gently lift the edges before flipping.
Symptom: Dough sticks all over and tears when flipped
This is a dusting failure. You didn't use enough rice flour, or the flour dissolved. Check your hydration.
If it's above 80%, you need more flour or a liner.
Symptom: Dough looks deflated and sticky
That's over-proofing. The dough's structure collapsed. You can try to reshape it, but the texture will suffer.
This is a timing problem, not a basket problem.
Symptom: White or black spots on the basket after baking
That's mold. We'll cover this in detail later. Stop using the basket until it's clean.
Symptom: Dough releases fine but the basket smells sour
Your basket is harboring residual flour and moisture. Let it dry completely between uses. Brush out the old flour every time.
The fastest way to test whether the basket is actually the problem is to run a control test. Take a piece of scrap dough, roughly the size of a tennis ball. Dust the basket properly.
Set the dough in for 15 minutes. Flip it out. If it releases cleanly, your basket is fine.
The issue is your proofing process.
The Right Way to Season a New Proofing Basket
Seasoning is the cheapest insurance you can buy. It takes ten minutes and prevents most sticking problems permanently.
Step-by-Step Seasoning Process
- Brush the basket with a dry pastry brush to remove loose cane fibers and dust from shipping.
- Lightly mist the basket with water using a spray bottle. Don't soak it. Just enough to make the surface slightly damp.
- Dust with rice flour generously. Cover every surface, including the sides.
- Let it dry for 2 to 4 hours at room temperature. The flour should form a thin, powdery coating.
- Brush out the excess flour. Most of it will come out. That's fine. The point is to leave a fine layer embedded in the weave.
- Repeat the process one more time before your first bake.
After the initial seasoning, you'll still need to dust rice flour before every single use. Seasoning isn't a one-and-done replacement for dusting. It's a base layer that makes your dusting more effective.
Some bakers like to add a second step: placing the seasoned basket in a warm oven (200°F) for 10 minutes to really drive the flour into the cane. This works, but it's optional. The air-dry method works just as well if you're patient.
What to Avoid When Seasoning
- Don't use oil. Oil can go rancid and encourage mold.
- Don't use wheat flour for the initial coat. Use rice flour.
- Don't soak the basket. Excess water warps the cane.
- Don't skip the brushing step. Raw cane fibers can shed into your dough.
Once your basket is seasoned, it will develop that patina over several bakes. You'll notice the dough releasing more easily each time. That's the seasoning layer building up.
Dusting 101: Rice Flour vs. Wheat Flour vs. All-Purpose
This section deserves a direct comparison because the wrong choice is the number one cause of stuck dough.
| Flour Type | Gluten Content | Moisture Absorption | Best Use |
|---|---|---|---|
| Rice flour | None | Low | Banneton dusting, sticky dough |
| All-purpose flour | Moderate | High | Bread scoring, bench work |
| Bread flour | High | Very High | Avoid for basket dusting |
| Rye flour | Low | Very High | Avoid for basket dusting |
| Semolina | None | Medium | Pizza peels, flatbreads |
The table tells the story. Rice flour is the only common option with no gluten and low moisture absorption. That combination keeps it dry on the dough's surface.
The "Double Dust" Trick for High Hydration Dough
If you're working with 80% hydration or higher, one dusting isn't enough. The dough's surface will absorb the first layer of flour within minutes.
Here's the double dust method:
- Dust the basket with rice flour.
- Let it sit for 5 minutes so the flour settles into the weave.
- Dust again with another layer.
- Use a pastry brush to spread it evenly.
- Place the dough in the basket.
- Dust the top of the dough lightly before covering.
This creates two distinct layers of protection. The first layer sits in the cane gaps. The second layer sits on top of the dough's surface.
Even very wet dough will struggle to penetrate both layers.
A Note on Store-Bought "Banneton Flour Blends"
Some manufacturers sell special blends marketed as "banneton flour" or "proofing flour." These are usually a mix of rice flour and wheat starch or tapioca starch. They work fine. But they're not magic.
The same principles apply. If the blend contains wheat flour, it will eventually absorb moisture.
You can skip the branded blends and save money. Plain white rice flour from the grocery store works identically.
What to Do When Your Dough Is Already Stuck (Emergency Recovery)
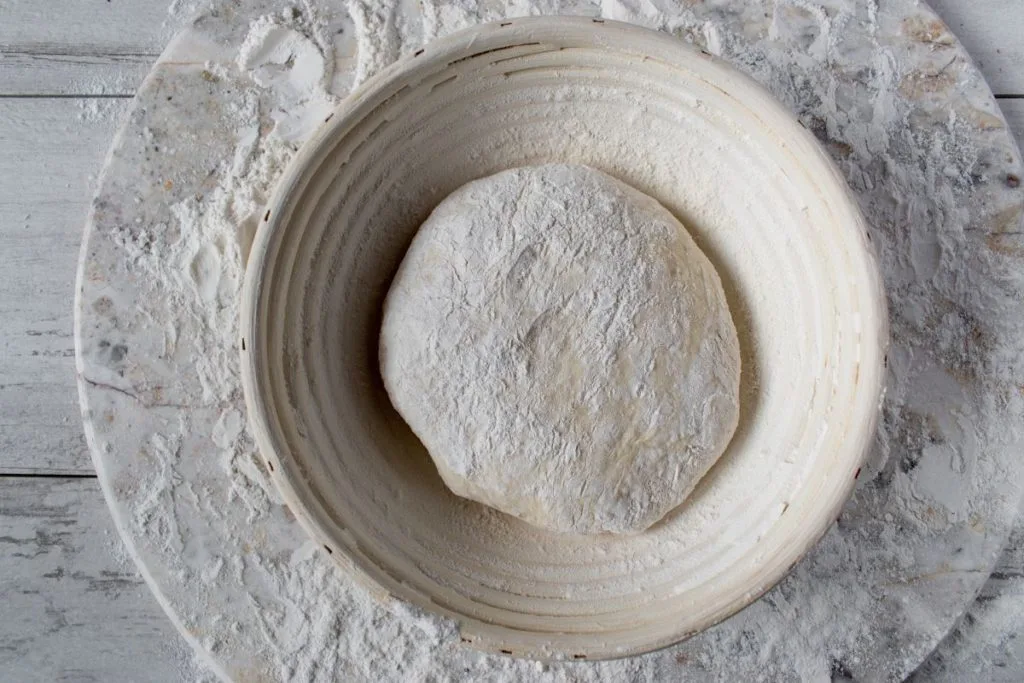
Okay, you didn't catch it in time. The dough is halfway out of the basket, clinging to the cane. Don't panic.
There are two rescue paths depending on how bad it is.
Path One: The Dough Is Stuck but Still Intact
This is the best-case scenario. The dough is stuck to the basket but hasn't torn. Here's what to do:
- Set the basket down on the counter and let it rest for 10 minutes.
- This allows the dough to relax and release some surface tension.
- Gently insert a bench scraper between the dough and the basket.
- Work around the edges slowly, lifting the dough away from the cane.
- Once the edges are free, flip the basket onto your baking surface.
- If the center is still stuck, use the bench scraper to coax it out.
This works most of the time. The key is patience. Forcing the dough will tear it.
Path Two: The Dough Is Torn and Mushy
If the dough has torn and the surface is mushy, you've lost the surface tension. The loaf will likely deflate. The best move is to reshape and re-proof.
Here's what to do:
- Gently peel the dough out of the basket in pieces.
- Place it on a lightly floured surface.
- Shape it back into a tight ball using a bench scraper.
- Dust a fresh basket or a bowl with a towel with more rice flour.
- Proof for another 30 to 45 minutes at room temperature.
- Bake as normal.
The resulting loaf will be flatter and less attractive, but it will still taste great. And honestly, that's what matters at home.
Emergency Case: Extreme Stickiness
If the dough is completely fused to the cane, don't try to scrape it out. That will destroy both the dough and the basket. Instead, put the entire basket in the freezer for 30 minutes.
The cold will firm up the dough and shrink it slightly. This can break the bond with the cane.
After freezing, flip the basket onto your work surface. Most of the dough will release. The bits that stay behind will brush out once dry, but you'll need to clean the basket thoroughly before using it again.

Similar Posts