Fix Your Programmable Bread Maker: Common Problems
Most programmable bread maker problems stem from the delicate balance between ingredient ratios and the machine's automated timing. While these appliances are designed for convenience, slight variations in flour moisture or ambient temperature can lead to failed loaves.
Manufacturer specifications from brands like Zojirushi and Panasonic indicate that even a 10 percent deviation in liquid measurements can ruin the crumb structure. Understanding how to recalibrate your process is the first step toward consistent baking results.
Quick Answer
Programmable bread maker problems are usually caused by incorrect ingredient sequencing or environmental factors. Sunken tops indicate too much liquid or yeast. Dense loaves suggest old yeast or excessive salt.
If the machine fails to start, it is often due to an overheat error (H:HH) or a disconnected drive belt. Consistent success requires precise weighing of ingredients and monitoring the initial kneading stage.
The What Went Wrong Diagnostic Flowchart
When your bread fails, you need a systematic way to identify the culprit. Most issues fall into three categories: ingredient errors, environmental impacts, or mechanical failures. By observing the specific state of the loaf, you can trace the problem back to a specific stage in the cycle.
If your loaf is heavy and flat, the yeast likely never activated. This happens if the water was too hot, killing the organisms, or too cold, keeping them dormant. If the loaf rose and then collapsed, the structure was too weak to hold the air.
This points to a high hydration level or over-proofing.
Our research into manufacturer troubleshooting guides suggests using a simple "If/Then" logic to isolate the issue. If the machine is making a grinding noise but the paddle isn't turning, the drive belt has likely slipped. If the bread is burnt on the outside but raw in the middle, the "Crust Color" setting is too high for the sugar content in your recipe.
| Symptom | Primary Cause | Immediate Fix |
|---|---|---|
| Loaf hit the lid | Too much yeast or sugar | Reduce yeast by 1/4 tsp |
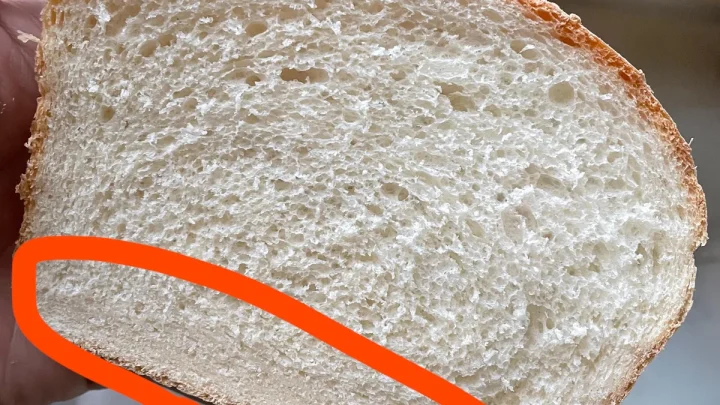
| Floury corners | Lack of moisture | Add 1 tbsp water during knead |
| Shaggy, torn top | Dough too dry | Monitor dough ball elasticity |
| Machine won't start | Overheat sensor active | Let unit cool with lid open |
Why Your Bread Machine Loaf Collapsed (The Crater Effect)
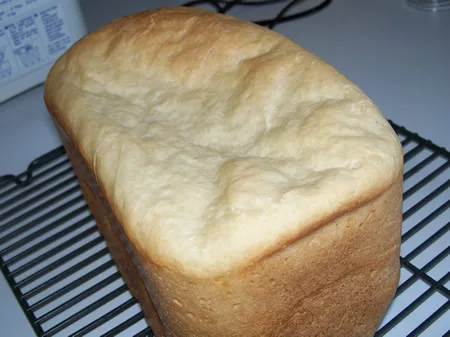
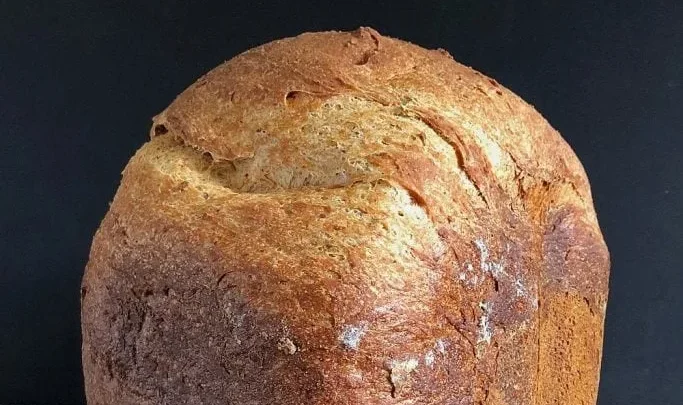
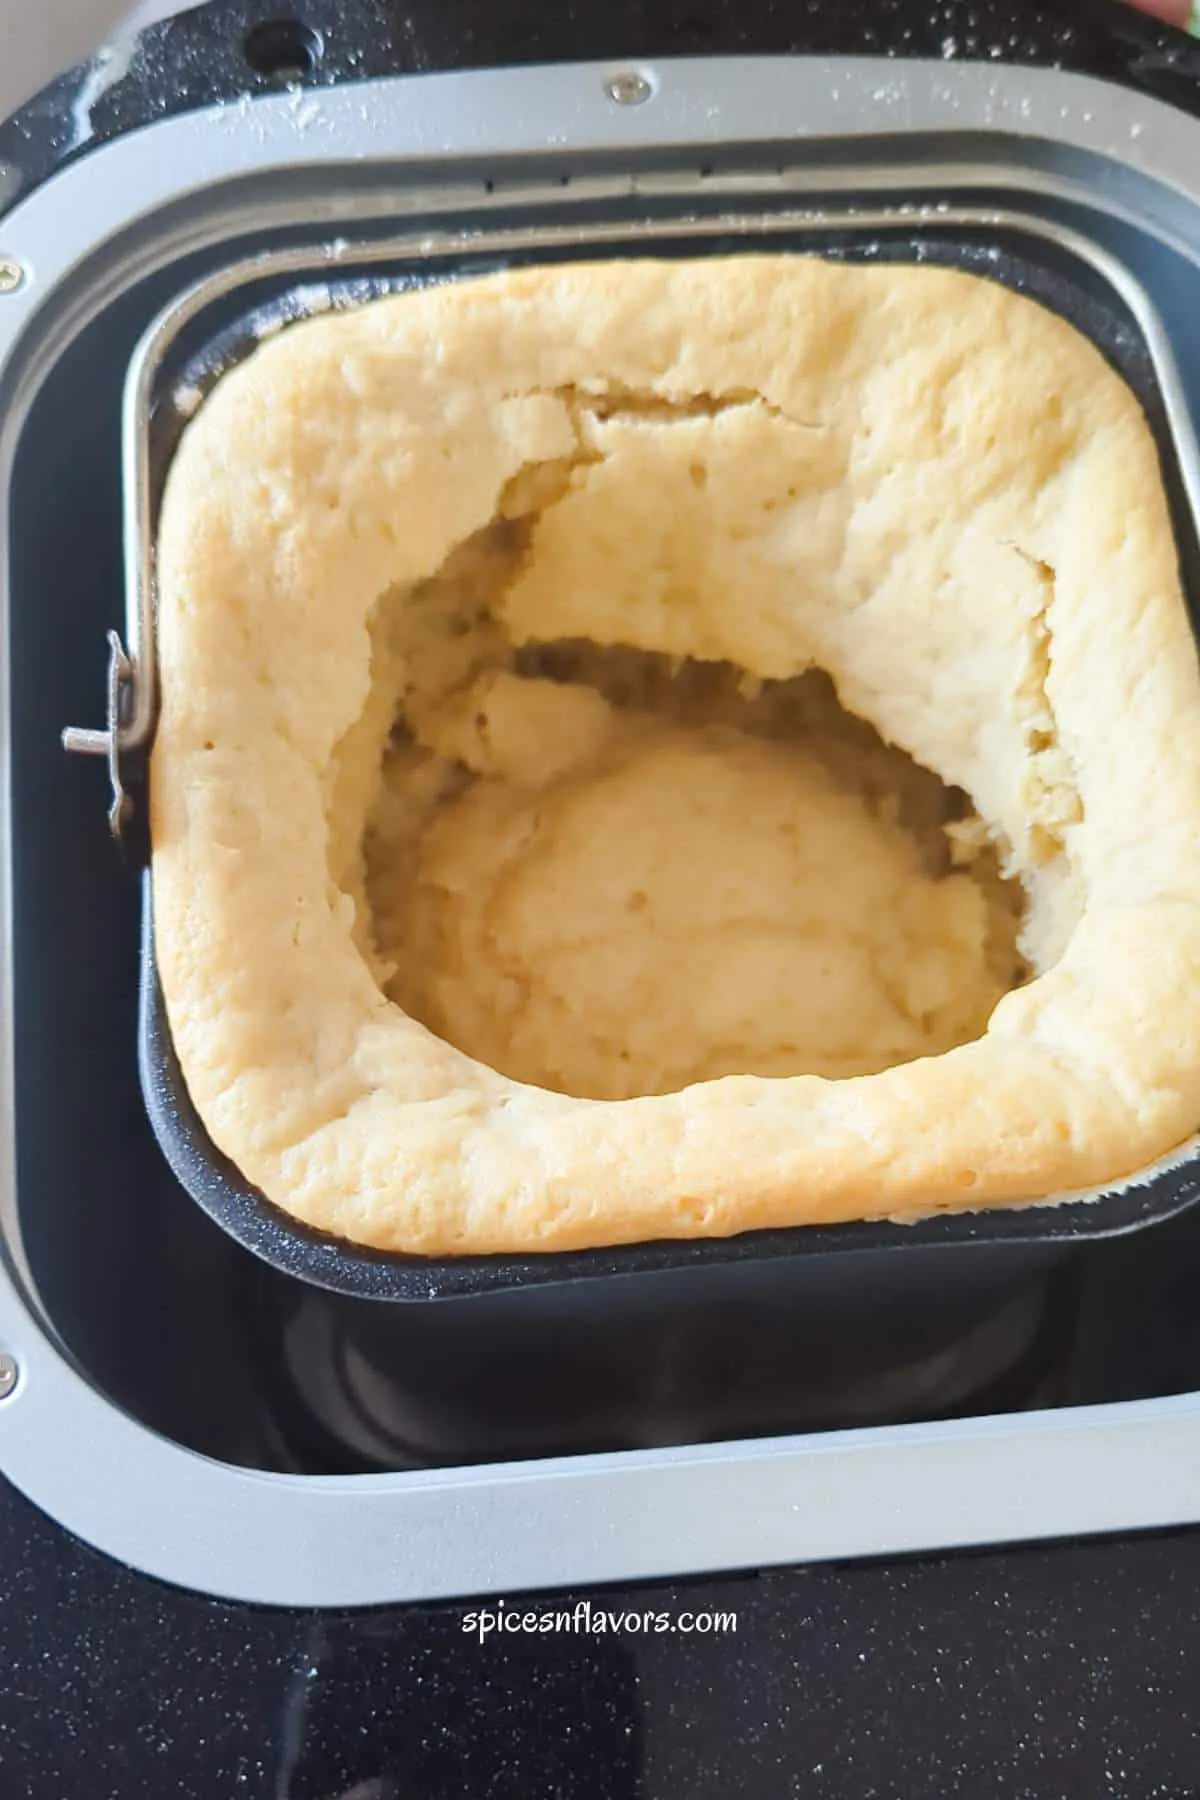
A sunken top is perhaps the most common frustration for home bakers. This happens when the dough rises beautifully during the proofing stage but loses its structural integrity during the bake cycle. It is essentially a balloon that popped because the skin was too thin.
One major factor is using too much liquid. Different types of flour absorb water at different rates. If your dough is too wet, the gluten strands stretch too far and eventually snap under the heat of the oven.
Excessive yeast is another culprit. In a programmable cycle, the rise time is fixed. If the yeast produces gas too quickly, the bread reaches its maximum height before the baking cycle begins.
To prevent this, try reducing your yeast by 1/4 teaspoon or switching to a dedicated bread machine yeast.
Environmental humidity also plays a role. On a very rainy day, your flour actually absorbs moisture from the air. You might need to reduce your added liquids by a tablespoon to compensate.
If you find your loaves are consistently too large, adjusting these ratios is the only permanent fix.
Fixing the Brick Loaf When Bread Does Not Rise
A "brick" loaf is a short, heavy, and dense block of bread that barely moved during the cycle. This signifies that the gas production was insufficient or the gluten was too tight to expand.
Start by checking your yeast viability. You can "bloom" a small amount of yeast in warm water with a pinch of sugar. If it doesn't foam within five minutes, the batch is dead.
Always store your yeast in the refrigerator or freezer to extend its shelf life.
Salt is another silent rise-killer. While salt is necessary for flavor and gluten control, it is a natural inhibitor of yeast. In a programmable machine, you must ensure the salt and yeast do not touch during the delay period.
Place the salt in a corner of the pan and the yeast in a small "well" in the center of the dry flour.
Finally, consider the flour type. All-purpose flour has less protein than bread flour. Lower protein means less gluten, which results in a shorter rise.
If you are using whole-grain flours, the sharp edges of the bran can actually cut the gluten strands. Adding a tablespoon of vital wheat gluten can help provide the extra "lift" needed for heavier grains.
Dealing with Mushroom Tops and Overflowing Pans
A "mushroom top" occurs when the dough rises so much that it spills over the sides of the bread pan. This creates a messy cleanup and often leads to a burnt smell as dough touches the heating element. It usually indicates that the recipe used is too large for the machine's rated capacity.
Most programmable machines are rated for 1lb, 1.5lb, or 2lb loaves. If you try to run a 2lb recipe on a 1.5lb setting, the timing of the "punch down" phase will be wrong. The dough will have too much volume for the motor to effectively degas.
To fix this, ensure you are selecting the correct loaf size on the control panel. If the problem persists with a standard recipe, reduce the sugar. Sugar acts as food for the yeast.
By cutting the sugar by half, you slow down the fermentation process.
If an overflow does occur, safety is the priority. Turn off the machine and unplug it before attempting to clean. Once the unit is cool, use a soft cloth to remove dough from the heating elements.
Leftover residue can cause a fire hazard or produce toxic smoke during the next use.
Identifying Mechanical Faults vs Ingredient Errors
Before you assume your machine is broken, you must distinguish between a bad recipe and a mechanical failure. A mechanical fault usually involves noise, lack of heat, or a frozen display. An ingredient error results in edible but ugly bread.
If the machine is silent during the kneading phase, the motor or drive belt is the likely issue. You can test this by starting a "Dough" cycle with an empty pan. If the spindle doesn't spin, the internal belt has likely snapped or slipped off the pulley.
Lack of heat is another technical failure. If the machine completes its cycle but the dough is still cold and raw, the heating element or the thermal fuse has failed. These fuses are designed to trip if the machine overheats to prevent fires.
Conversely, if the machine makes all the right noises and gets hot, but the bread is a mess, the problem is your process. Watch the first ten minutes of the cycle. A healthy dough should form a smooth, tacky ball.
If it looks like a thick batter or a pile of dry crumbs, you need to intervene manually.
Interpreting Common Error Codes: H:HH, E:EE, and L:LL
Modern programmable bread makers use error codes to communicate specific sensor readings. Understanding these codes can save you a trip to the repair shop. Most of the time, these codes are protective measures rather than signs of a total breakdown.
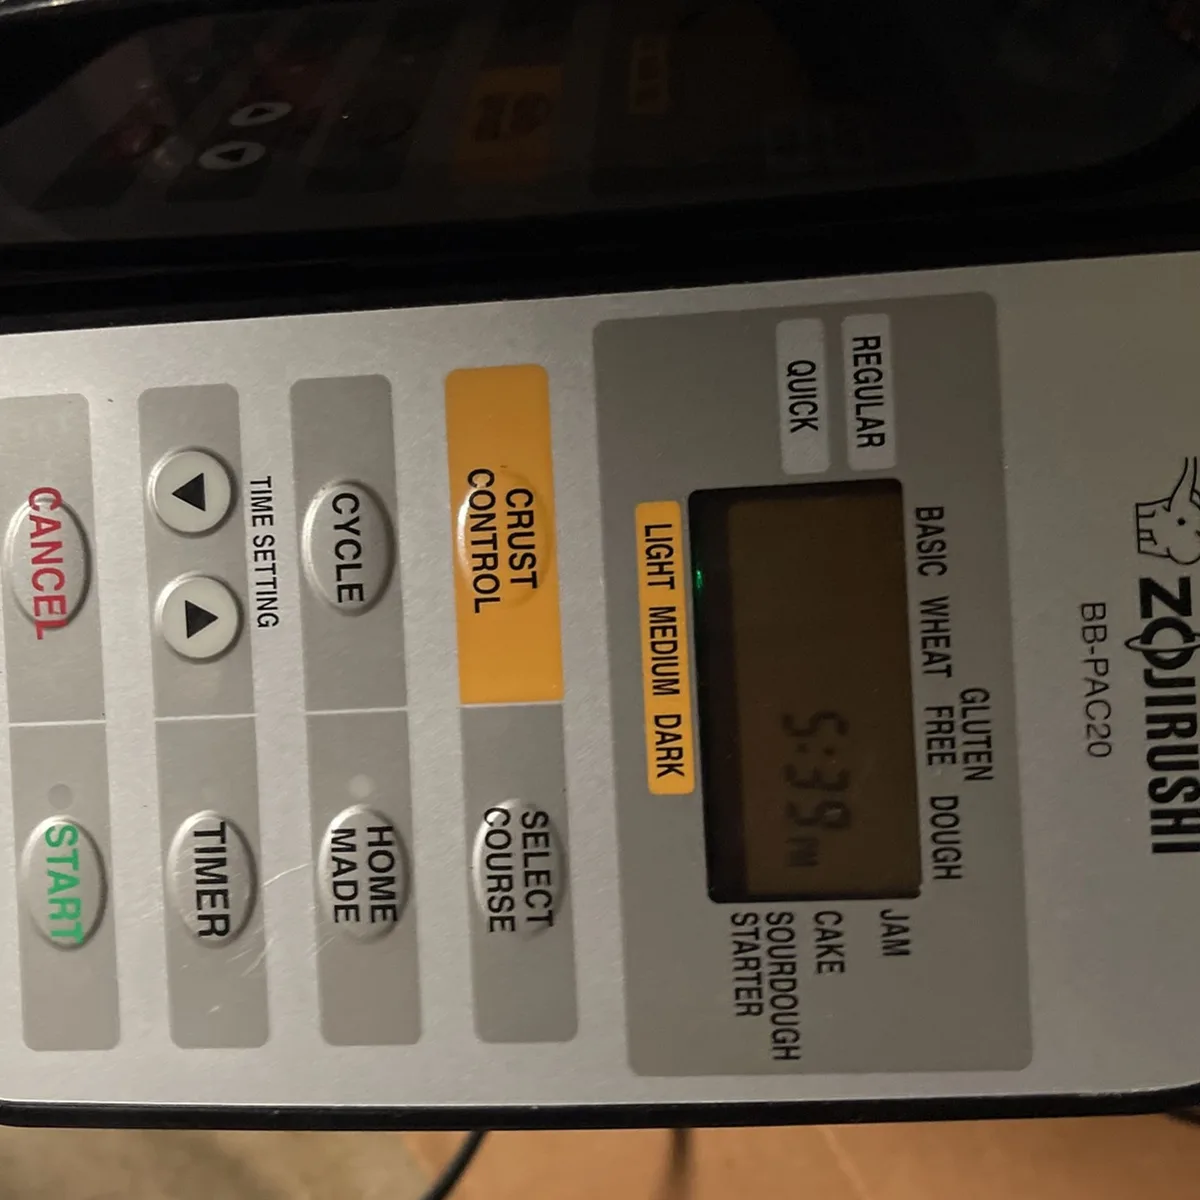
The "H:HH" code stands for "Heat" and means the internal temperature is too high to start a new cycle. This usually happens when you try to bake two loaves back-to-back. The sensors won't allow a new program to start because the high heat would kill the yeast instantly.
Simply leave the lid open and wait about 20 minutes.
"E:EE" usually points to a problem with the thermistor, which is the temperature sensor. This can mean the sensor is disconnected or has failed. Sometimes, this code appears if the machine is kept in an extremely cold environment.
Moving the machine to a room-temperature kitchen often clears the error.
"L:LL" signifies that the internal temperature is too low. Like the E:EE code, this is often environmental. If your kitchen is below 60 degrees Fahrenheit, the machine may struggle to warm the ingredients enough for a proper rise.
Ensure your machine is kept in a stable, climate-controlled area for the best results as of 2026.
The Humidity Factor: Adjusting Ratios for Your Local Climate
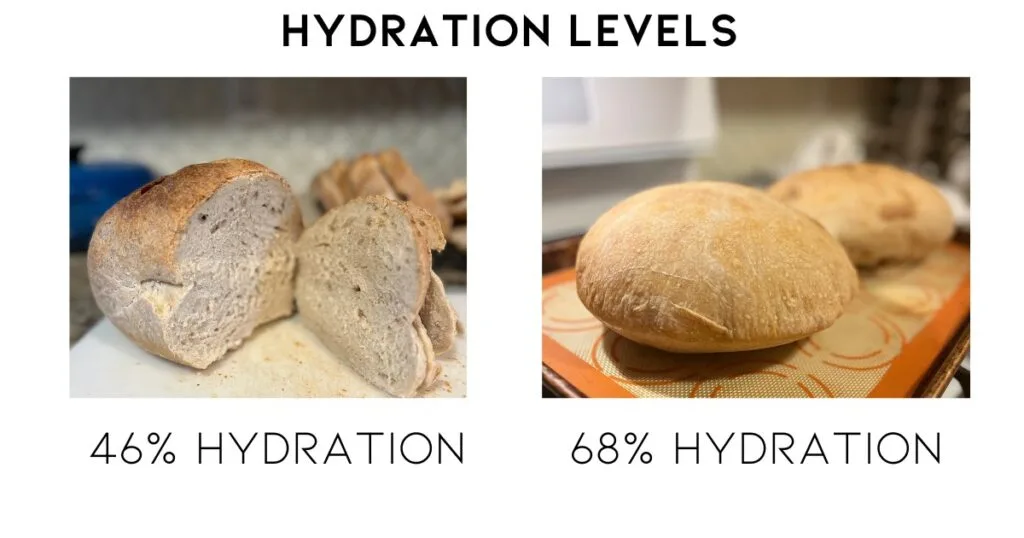
Humidity is the "invisible ingredient" that causes inconsistent baking results. Flour is hygroscopic, meaning it pulls moisture from the air. In a humid coastal climate, a cup of flour can weigh significantly more than the same cup in a dry desert climate because of trapped water.
If you live in a high-humidity area, you will likely find that "standard" recipes result in dough that is too sticky. This prevents the paddle from properly developing the gluten. You may need to increase your flour by one or two tablespoons or decrease your water slightly.
In dry climates, the opposite happens. The flour becomes parched and absorbs the recipe's liquids too quickly. This results in a dry, shaggy dough that the motor struggles to turn.
Over time, this extra strain can lead to mechanical upkeep issues or a burnt motor.
We recommend using a digital scale to measure by weight rather than volume. A gram of flour is always a gram of flour, regardless of how much air or moisture is packed into a measuring cup. This single change can eliminate roughly 80 percent of common failures.
Solving the Stuck Paddle and Hole in the Bread Dilemma
The kneading paddle is the heart of the machine, but it is also a source of frustration. It often gets stuck inside the finished loaf, leaving a large hole in the bottom of your bread. While this is a design reality, there are ways to minimize the damage.
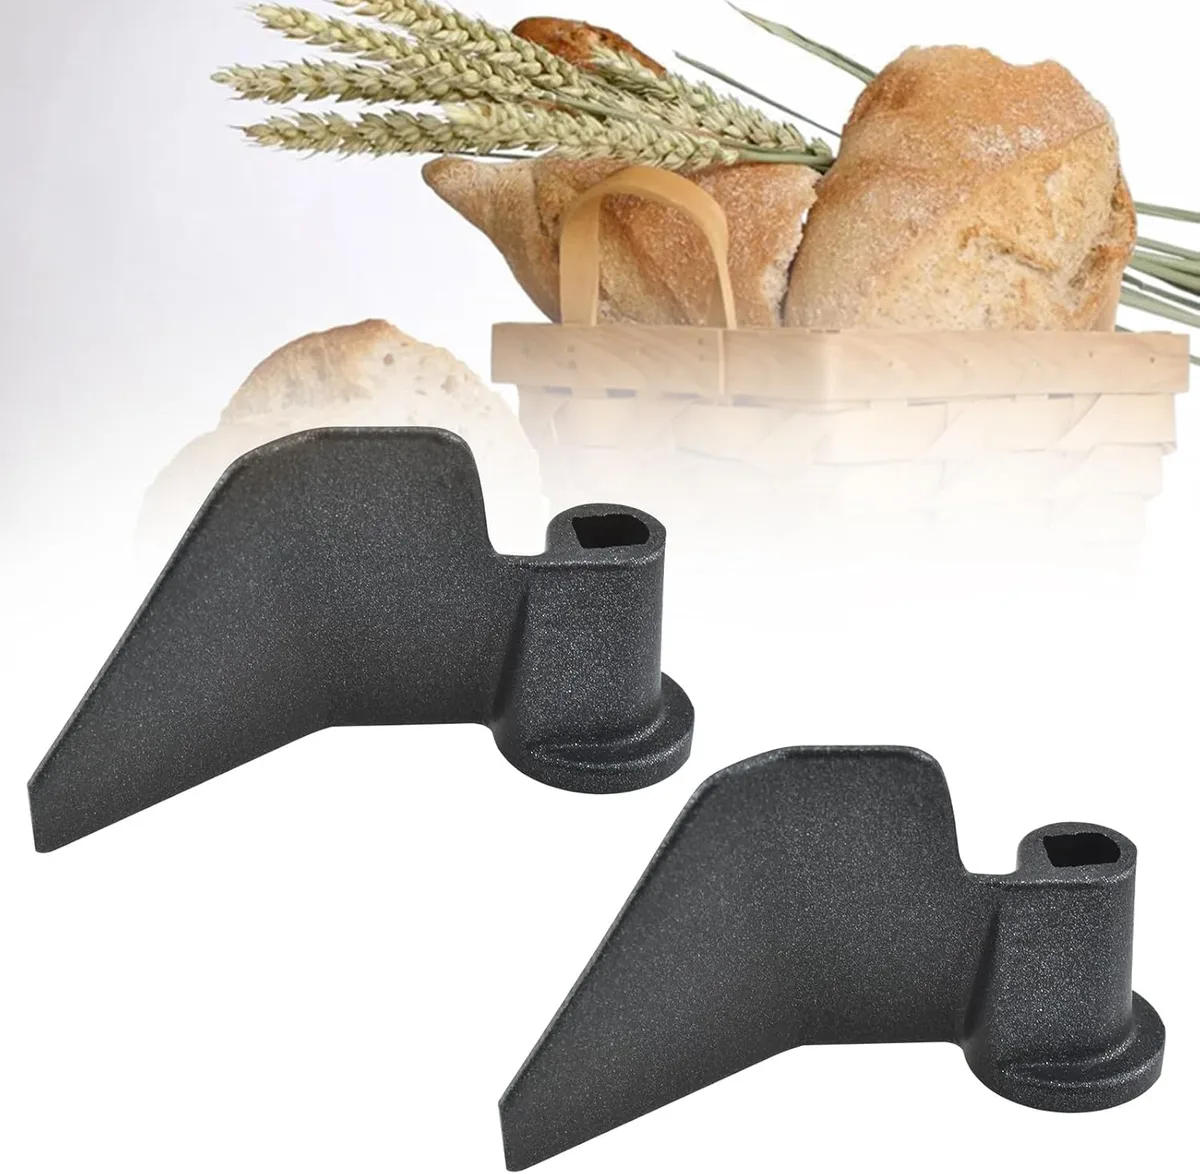
One effective method is to grease the paddle and the spindle with a bit of shortening before adding ingredients. This creates a barrier that prevents the bread from "gluing" itself to the metal. Over time, the non-stick coating on the paddle can wear down, making this step essential.
For those using programmable machines, you can actually remove the paddle before the baking begins. Most cycles have a "final rise" that lasts about 60 minutes. If you are home, you can pause the machine, lift the dough, and pull the paddle out.
If the paddle is stuck in the pan after you've removed the bread, do not use metal utensils to pry it out. This will scratch the coating. Instead, fill the pan with warm, soapy water and let it soak for 30 minutes.
The residue will soften, allowing you to lift the paddle freely without damaging the engine components of the drive shaft.
Troubleshooting the Delay Start Timer Failures
The delay start timer is one of the best features of a programmable bread maker, but it's also where many recipes fail. The problem isn't the timer itself, but what happens to the ingredients while they sit in the pan for several hours.
Temperature drift is the main issue. If you put cold milk in the pan at night to have bread in the morning, that milk will reach room temperature long before the machine starts. This can lead to food safety issues.
We recommend using dried milk powder and water for delay cycles instead.
The yeast barrier is also critical. If the yeast gets wet before the mixing begins, it will start to ferment too early. By the time the machine actually starts the knead cycle, the yeast will be "spent." Always put the flour in last and make a deep crater for the yeast to sit in.
Avoid using fresh fruit, eggs, or cooked grains in a delay cycle. These can spoil or ferment in ways that produce off-flavors. Stick to basic white, wheat, or French bread recipes when using the timer.
For complex bakes, it is better to be present to monitor the initial setup.
Why Flour Pockets and Unmixed Corners Happen
Dry flour pockets occur when the kneading paddle fails to reach the edges of the bread pan. This is especially common in larger 2lb rectangular pans where the paddle is centered.
If you find unmixed flour on your crust, try adding liquids first to create a better vortex. You can also manually scrape the corners with a silicone spatula during the first five minutes of kneading.
The Kneading Phase Check When to Intervene
The best time to prevent a failed loaf is during the initial kneading stage. A perfect dough ball should look smooth, slightly tacky, and clear the sides of the pan completely.
If the dough looks like a thick batter, add a tablespoon of flour. If it is a collection of dry crumbs, add a teaspoon of water. These small adjustments ensure the motor can develop the gluten properly without straining the drive system.
Maintenance Steps to Prevent Motor and Belt Failure
Mechanical programmable bread maker problems often start with a worn drive belt or a seized spindle. Overloading the pan with heavy dough puts excessive torque on the motor.
Keep the spindle lubricated with a drop of food-safe oil if it becomes hard to turn by hand. Regularly check that the internal components are dry to prevent rust on the motor assembly.
Proportional Fixes The 1-Tablespoon Rule for Dough Calibration
Most baking failures can be corrected using the 1-tablespoon rule. This involves adding exactly one tablespoon of flour or water at a time until the dough reaches the right consistency.
Baking is a science, and even small environmental changes affect hydration. By staying near the machine for the first ten minutes, you can make these adjustments before the timed rising cycles begin.
Decision Guide When to Repair vs When to Replace Your Machine
Repairing a bread maker is worth it if the issue is a $10 drive belt or a $15 kneading paddle. These parts are easily accessible and don't require specialized electrical knowledge.
If the main circuit board or the heating element fails, the repair cost often exceeds the price of a new unit. In these cases, upgrading to a model with modern features or a stronger motor is often the smarter financial move.
Frequently Asked Questions About Bread Maker Performance
Why does my bread maker smell like it is burning?
Burning smells usually result from flour or sugar spilling onto the heating element. It can also indicate a slipping drive belt or a motor struggling with dry dough. Unplug the machine and clean the interior once it cools completely.
Can I use regular flour instead of bread flour?
You can use all-purpose flour, but your bread will have less height and a softer crumb. Bread flour has more protein, which creates the strong gluten network needed for a high rise.
Why is my crust too thick or hard?
Excessive sugar or a "Dark" crust setting often causes a hard, thick exterior. Sugar caramelizes rapidly under heat. Try the "Light" setting or add a tablespoon of butter to soften the crust.
My bread machine is walking across the counter. Is it broken?
A "walking" machine usually means your dough is too dry and heavy. The motor creates excessive vibration while trying to move the stiff mass. Add a teaspoon of water during the kneading phase.
How often should I replace the kneading paddle?
Replace the paddle only if the non-stick coating peels or the internal fitting wears out. A loose paddle won't knead effectively and can damage the spindle.
What should I do if the power goes out during a bake?
Check if your machine has a power failure backup to resume the cycle. If the power is out for more than ten minutes, the dough will likely over-proof or collapse. It is safest to discard the dough and start fresh.

Similar Posts