Why Your Bread Machine Bread Is Gummy and How to Fix It
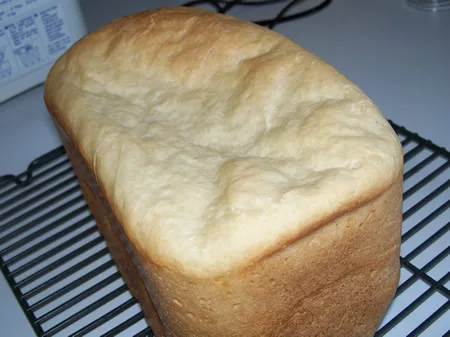
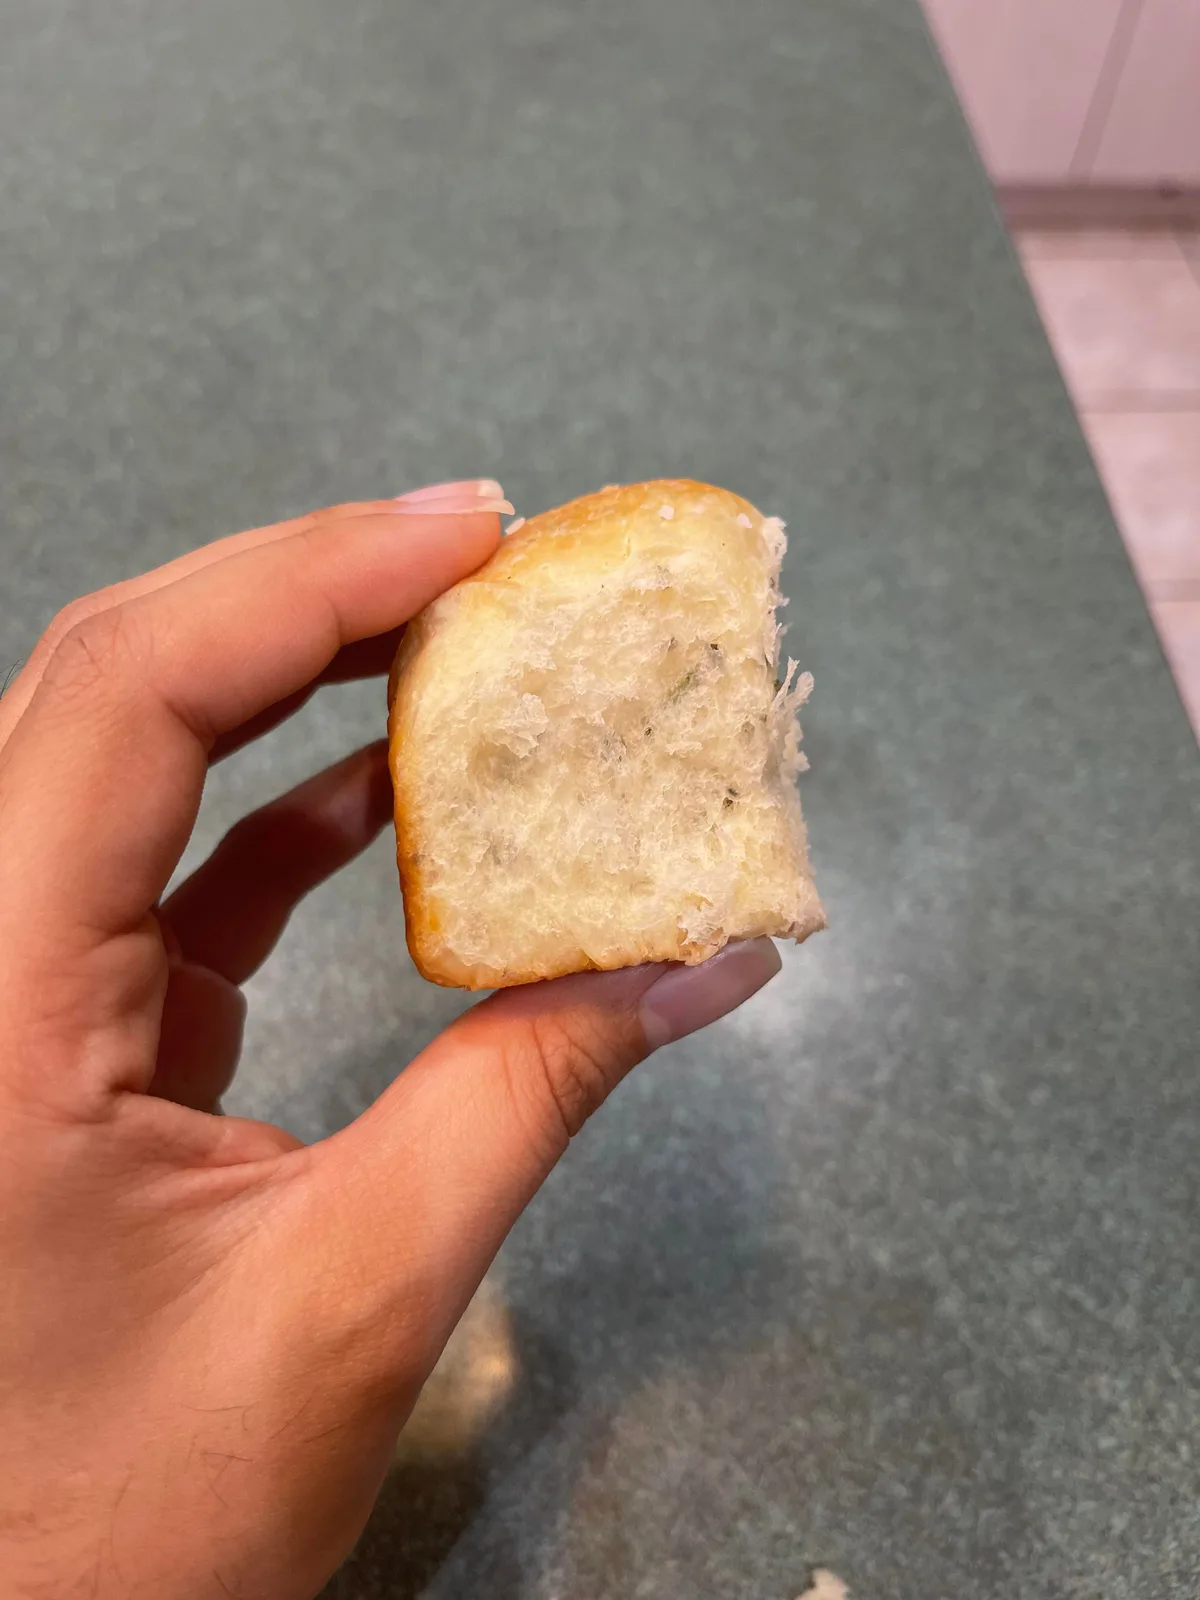
Opening a bread machine to find your loaf looks perfect on the outside but remains gummy in the middle is a common frustration for home bakers. This specific texture issue usually stems from an imbalance in moisture levels or a premature end to the baking cycle.
Research indicates that bread structure depends on a precise internal temperature, typically reaching between 190°F and 210°F to fully set the starches. If the core remains below this range, the result is a damp, unappealing center.
Quick Answer
Bread machine bread gummy in middle is caused by excess moisture or underbaking. Too much water prevents the crumb from setting properly. A weak gluten structure also traps internal steam.
Always cool the loaf for one hour before slicing. Use a digital thermometer to check for a 190°F internal temperature.
The Frustration of the Gummy Center: What’s Actually Happening?
Gummy bread is not just undercooked dough. It is a failure of the starch gelatinization process. During a bake, starch granules in the flour absorb water and swell.
As the heat rises, these granules burst and form the solid structure we recognize as bread.
If the heat does not stay high enough for long enough, that structure remains a semi-liquid gel. Aggregate reviews of popular bread maker models show that gummy complaints often peak when users experiment with custom recipes. The machine operates on a fixed timer.
If your dough is denser than the factory-tested settings, the standard bake cycle might end before the center reaches the finish line. You might also see this if the loaf has a thick crust but a wet interior. This happens when the outside cooks too fast, sealing moisture inside.
It is a common sign that the sugar content is too high, causing the crust to brown prematurely while the middle stays raw.
Quick Check: Is It Underbaked or Just Too Wet?
Before changing your machine settings, you need to identify the root cause. A gummy middle is usually either a timing problem or a ratio problem. If the bread looks fully risen and the top is golden, but the inside is damp, you likely have a hydration issue.
If the loaf is short, heavy, and wet, it is an under-baking or fermentation issue. Our analysis of manufacturer specifications suggests that most machines are calibrated for a specific flour-to-water ratio. Deviating by even a few teaspoons of liquid can drastically change the outcome.
| Symptom | Probable Cause | Immediate Adjustment |
|---|---|---|
| Golden crust, wet center | Too much liquid | Reduce water by 1 tablespoon |
| Pale crust, doughy center | Underbaked | Use "Dark" crust setting |
| Sunken top, gummy crumb | Over-proofing | Reduce yeast by 1/4 teaspoon |
| Dense, small, and gummy | Cold ingredients | Use room-temp water (80°F) |
If you notice your loaf is actually hitting the top of the lid and then collapsing, you might be dealing with common machine overflows, which often lead to a gummy, compressed center.
The "Perfect Dough Ball" Test During Kneading
The best way to prevent a gummy middle is to intervene during the first ten minutes of the kneading cycle. You should not wait for the beep to see if the bread worked. Open the lid and look at the dough as the paddle turns.
A perfect dough ball should look smooth, round, and slightly tacky to the touch. It should clear the sides of the bread pan completely. If the dough looks like a thick batter or is sticking to the walls, the finished loaf will almost certainly be gummy.
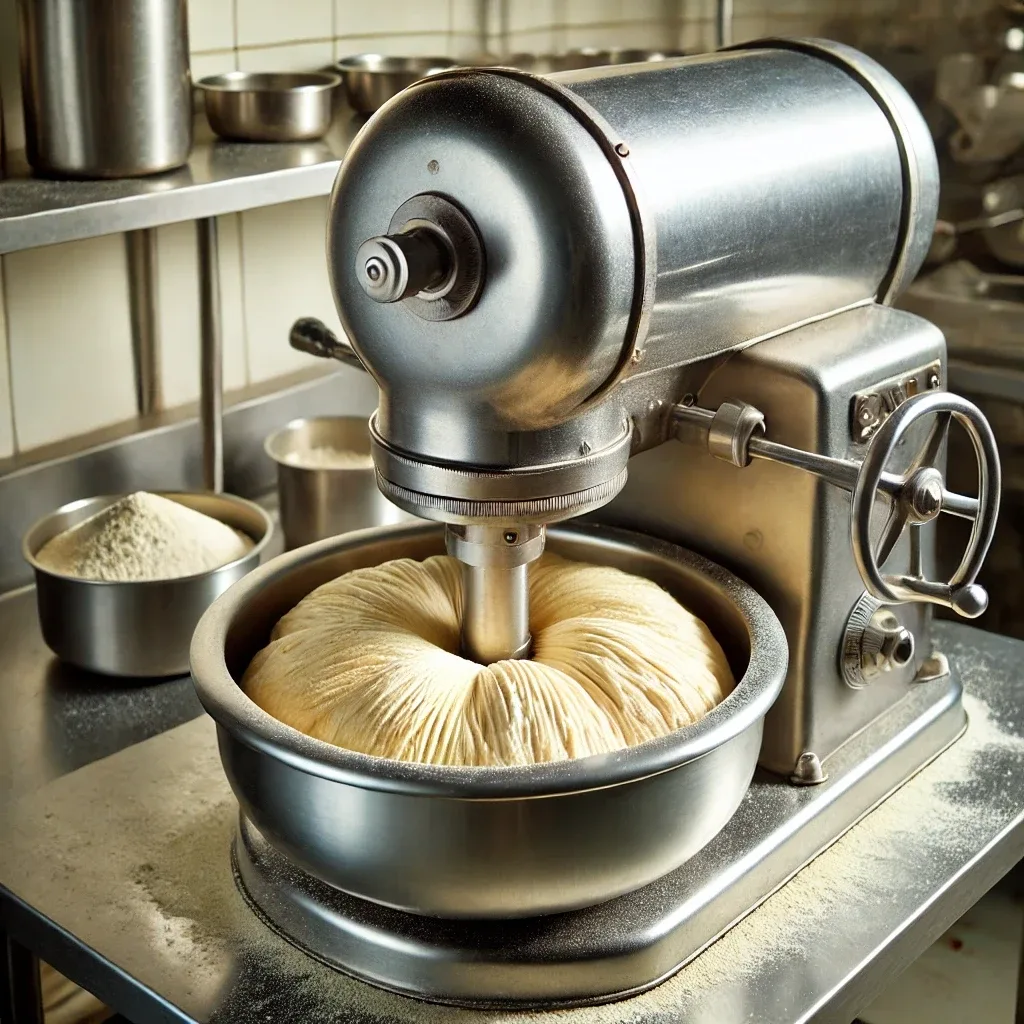
If the dough is too wet, add one tablespoon of bread flour at a time. Wait 60 seconds for it to incorporate before adding more. If the dough is too dry and looks like separate lumps, add a teaspoon of water.
Achieving a strong gluten network requires this balance to trap gas effectively.
Why Your Choice of Flour Changes Everything
Not all flour is created equal. Many bakers use All-Purpose (AP) flour because it is a kitchen staple, but it often leads to gummy results in a bread machine. AP flour has a lower protein content, usually between 9% and 11%.
Bread flour contains 12% to 14% protein. This extra protein is what creates the strong, elastic walls of the bread. Without that strength, the loaf cannot support its own weight as it rises.
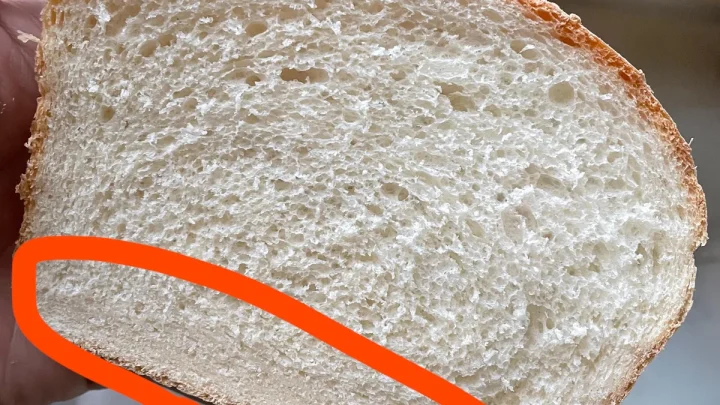
The structure collapses during the bake, resulting in a dense, wet layer in the bottom third of the loaf.
If you must use AP flour, our research suggests adding one tablespoon of vital wheat gluten to the mix. This boosts the structural integrity. Also, be wary of whole grain flours.
These absorb water at different rates and often require a longer soak than a standard bread machine cycle provides.
The Role of "Heavy" Ingredients: Fats, Sugars, and Eggs
Enriched doughs are the most likely to turn out gummy. When you add butter, milk, honey, or eggs, you are adding softeners. While these make the bread taste delicious, they also interfere with gluten development and hold onto moisture.
Sugar is hygroscopic, meaning it attracts and holds onto water molecules. If you add too much honey or maple syrup, that water stays trapped in the crumb. Eggs add structure, but they also add significant liquid volume that many bakers forget to account for in their total hydration.
When using these ingredients, follow these guidelines:
- Bring eggs and butter to room temperature before adding.
- Subtract the volume of the egg from the total water called for.
- Use the "Sweet" setting if your machine has one.
- Avoid adding extra oil beyond what the recipe specifies.
As of 2026, many modern machines have sensors to adjust for these heavy loads, but older units will simply run the standard timer. If the machine stops while the bread is still heavy, the residual moisture will settle in the middle.
How Ambient Humidity and Elevation Mess With Your Loaf
Environmental factors like humidity and altitude significantly change how flour absorbs liquid. Flour acts like a sponge. On a rainy day or in a humid climate, your flour already holds a higher percentage of moisture before you even start measuring.
If you live at a high elevation, the lower air pressure causes bread to rise faster and moisture to evaporate more quickly. This often results in a loaf that looks perfect but has a collapsed, gummy interior because the structure could not keep up with the rapid gas expansion.
Research from university extension programs suggests adjusting your recipe based on your local weather. If it is a particularly humid day, you should start by reducing your liquid by one or two tablespoons. For those at high altitudes, increasing the baking temperature or reducing the yeast slightly can help stabilize the crumb.
The Critical Wait: Why Slicing Hot Bread Ruins the Crumb
Slicing into a loaf of bread immediately after the machine beeps is the most common cause of a gummy texture. This is because the baking process does not actually end when the heating element turns off.
Inside that hot loaf, steam is still moving through the starch network. As the bread cools, that steam slowly evaporates through the crust, which allows the internal structure to firm up and set. If you cut the loaf while it is steaming hot, that moisture stays trapped right at the cut line, turning the crumb into a wet, compressed mass.
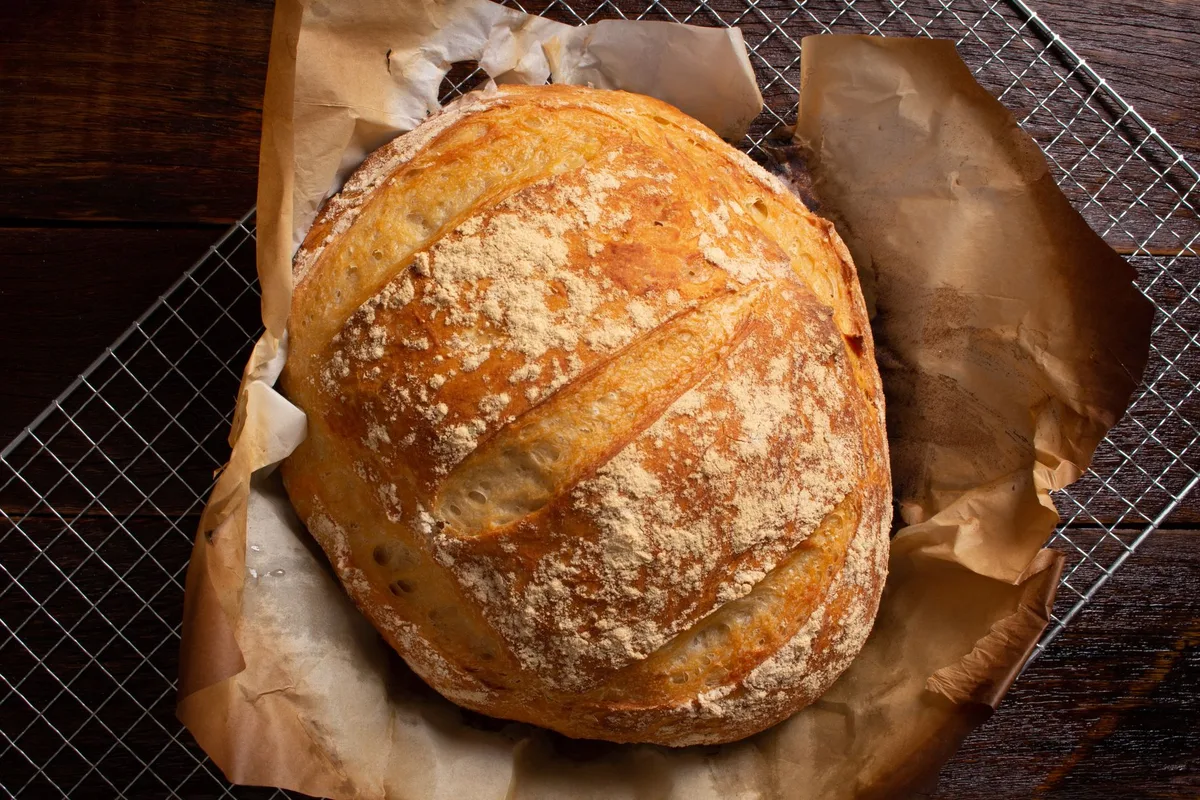
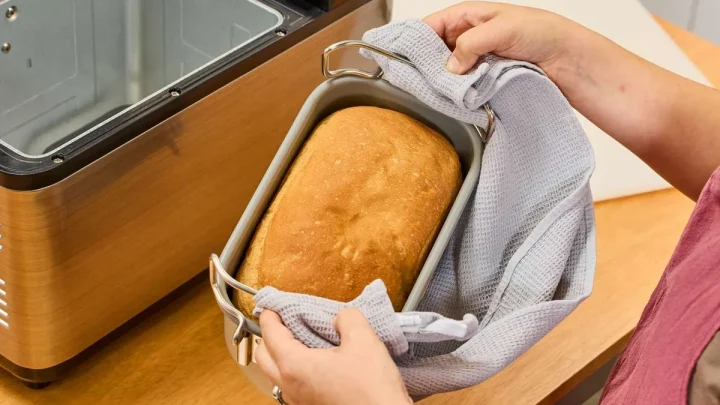
Manufacturer guidelines recommend removing the loaf from the pan immediately to prevent sweating against the metal walls. Place the bread on a wire cooling rack for at least 60 to 90 minutes. This allows the internal starches to complete their transition from a gel to a solid, airy crumb.
Troubleshooting Workflow: A Step-by-Step Diagnostic
If you are consistently pulling gummy loaves from your machine, follow this diagnostic path to isolate the error. Change only one variable at a time so you know exactly what fixed the issue.
The Inspection Phase
Start by weighing your ingredients instead of using measuring cups. A cup of flour can vary by as much as 30 grams depending on how tightly it is packed. Precision is the best defense against gumminess.
The Hydration Test
If your measurements are precise and the bread is still wet, look at the dough during the second kneading cycle. If it looks like a thick pancake batter rather than a firm ball, your hydration is too high for your specific brand of flour.
The Setting Check
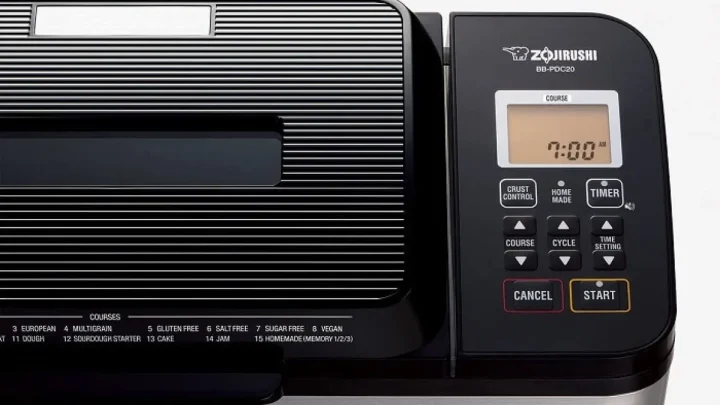
Verify that you are using the correct cycle for your loaf size. If you are making a 2lb loaf on a 1.5lb setting, the machine will stop baking before the center is done. If your machine allows it, select the "Dark" crust setting to give the loaf an extra 5 to 10 minutes of heat.
Using Internal Temperature to Verify the Bake
The only foolproof way to know if your bread is finished is to check its internal temperature. Visual cues like a golden crust can be deceiving, especially in machines with powerful top heating elements.
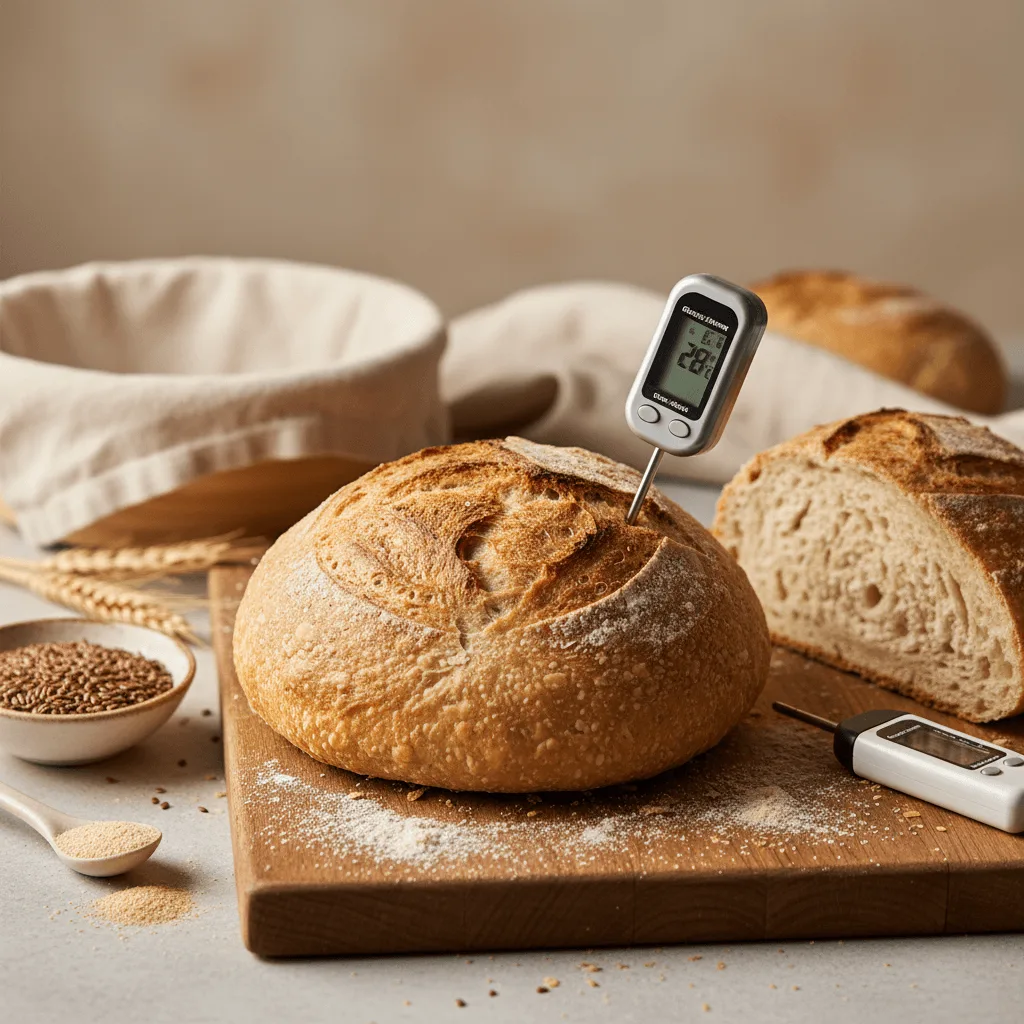
Insert a digital probe thermometer into the thickest part of the loaf, usually the very center, as soon as the cycle ends. For a standard white or wheat loaf, you are looking for a reading between 190°F and 200°F (88°C to 93°C). Richer doughs containing milk or eggs should reach closer to 205°F (96°C).
If the temperature is below 185°F, the starches have not set. The bread will feel gummy and might even have a raw flour taste. If your machine beeps and the temperature is low, you need to extend the baking time immediately.
When to Override Your Machine: The "Bake Only" Solution
Most modern bread machines come with a "Bake" or "Bake Only" setting that bypasses the kneading and rising cycles. This is a powerful tool for fixing a gummy middle without wasting the entire loaf.
If your thermometer shows the center is undercooked, do not leave the bread in the machine with the power off. The residual heat will not be enough to finish the bake, and the trapped steam will make the crust soggy. Instead, restart the machine on the Bake setting for an additional 10 to 15 minutes.
Alternatively, you can preheat your kitchen oven to 350°F (175°C). Slide the loaf out of the bread pan and place it directly on the oven rack for 5 to 10 minutes. This emergency bake often saves a loaf that would otherwise be destined for the trash, ensuring the center reaches the necessary temperature to solidify.
Common Mistakes: Yeast Placement and Water Temperature
Proper yeast activation is the engine of a good bake. If your yeast is sluggish or dies too early, the bread will not rise sufficiently, leaving the middle dense and gummy. Our research into home baking failures shows that the most common error is allowing the yeast to come into contact with salt or liquids prematurely.
Salt is a yeast inhibitor that can kill the organisms on contact in high concentrations. When setting up your machine, especially for a delay timer, always add your liquids first, then the flour, and make a small well in the flour for the yeast. This keeps the yeast dry and separate until the kneading cycle begins.
Water temperature is the second major variable. Ideally, your liquid should be between 80°F and 90°F (27°C to 32°C). Water over 120°F (49°C) will kill the yeast instantly, while water that is too cold will prevent the yeast from waking up in time for the machine's relatively short proofing windows.
The "Over-Proofing" Trap: When Your Bread Rises Too High and Collapses
Over-proofing occurs when the yeast produces too much gas for the gluten structure to hold. This often happens if you use too much yeast or too much sugar. The bread rises beautifully, hits the lid of the machine, and then the structure pops and collapses.
When the loaf collapses, the dough folds back in on itself. This creates a highly compressed, wet, and gummy layer in the center of the loaf. It can also happen if you are using the Basic cycle for a recipe that requires a shorter rise, like a rapid-bake loaf.
To fix this, try reducing your yeast by 1/4 teaspoon. If you are using a bread machine at high altitudes, this adjustment is even more critical. Lower air pressure allows gas to expand more easily, making over-proofing a common headache for mountain-region bakers.
Comparing Bread Machine Cycles: Basic vs. Sweet vs. Rapid
Choosing the wrong cycle is a frequent cause of internal texture issues. Each setting on your machine has a specific timeline for kneading, rising, and baking. Using a Rapid cycle for a heavy, whole-grain loaf is a recipe for a gummy disaster because the dense flour needs more time to hydrate and rise.
| Cycle Type | Best For | Characteristics |
|---|---|---|
| Basic / White | Standard sandwich loaves | Balanced rise and bake times |
| Sweet | Brioche, raisin bread | Lower temp, longer bake to prevent burning sugar |
| Whole Wheat | Dense grains | Longer pre-heat and rise times for hydration |
| Rapid / Quick | Low-protein doughs | High yeast amounts, very short cycles |
Our editorial analysis of user manuals suggests that the Sweet cycle is the most underutilized tool for fixing gummy bread. Because sweet doughs brown quickly, the machine uses a lower heat for a longer duration. This ensures the middle is fully cooked without the crust becoming a charred shell.
Expert Tips for Consistent Texture Every Time
For the most consistent results, treat your bread machine like a laboratory instrument. Small variations in how you handle the ingredients can lead to big differences in the final crumb. Always use a digital scale to measure by weight rather than volume.
If you find your crust is always too dark but the middle is gummy, try wrapping the outside of the bread pan in a single layer of aluminum foil before placing it in the machine. This reflects some of the direct heat away from the crust, allowing the center more time to reach that target 190°F mark.
Check your machine's heating element for debris. Flour or old crust stuck to the element can cause uneven heating. A clean machine ensures the thermal sensors can accurately read the internal cavity temperature, leading to a more reliable bake cycle.
Frequently Asked Questions
Can I eat bread that is gummy in the middle?
It is generally not recommended to eat gummy bread if it is truly undercooked. Raw flour can contain bacteria like E. coli, and the damp environment of an underbaked loaf can lead to rapid mold growth. If the bread is just slightly moist, you can slice it and toast it thoroughly to finish the cooking process.
Why is my bread machine bread gummy even after cooling?
If the loaf remains gummy after a two-hour cool-down, the hydration was likely too high. The starches never had enough dry heat to set. On your next attempt, reduce the water or milk by 10 to 15 milliliters.
Does the brand of yeast matter for gumminess?
While most brands work well, Bread Machine Yeast or Instant Yeast is specifically designed for the quick rise cycles of these appliances. If you use Active Dry Yeast, it must be dissolved in warm water first. Skipping this step leads to poor fermentation and a dense, gummy center.
Why does my gluten-free bread always turn out gummy?
Gluten-free bread lacks the protein structure of wheat bread, so it relies on starches and gums like xanthan gum to hold shape. These ingredients naturally hold more moisture. Using a dedicated Gluten-Free cycle is essential because these loaves usually only require one long rise and a very hot bake.
Should I leave the bread in the machine after it finishes?
No, you should remove the bread within five minutes of the cycle ending. Leaving it in the machine creates a greenhouse effect where steam condenses on the metal pan and gets reabsorbed by the crust. This leads to a soggy exterior and a damp, gummy interior.

Similar Posts